Migrating Continuous Integration and Continuous Delivery/Deployment (CI/CD) pipelines is far more complex than simply switching tools. In fact, Azure DevOps CI/CD migration is often one of the most challenging aspects of any DevOps transformation.
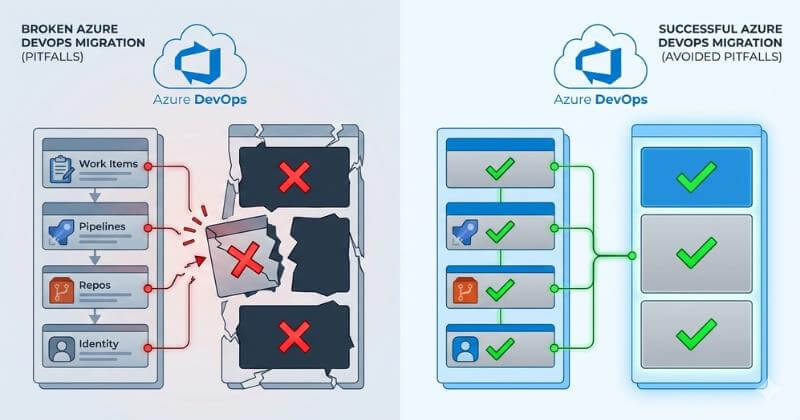
Unlike work items or repositories, pipelines contain deeply interconnected configurations, dependencies, and automation logic. When not managed carefully, you risk losing critical components such as task groups, variable sets, service connections, triggers, and even your build and release history.
So, is Azure DevOps pipeline migration difficult? Yes. Unachievable? Absolutely not, provided you have a solid strategy and the right expertise by your side to migrate builds and releases.
Whatever your reason for taking on this complex effort, this guide breaks down the essentials of performing a seamless Azure DevOps pipeline migration while preserving your valuable build and release data.
Understanding Azure DevOps Build and Release Architecture
In most enterprises Azure DevOps pipelines structure supports two styles of pipelines: Classic (GUI-based) and YAML (code-based). Classic build pipelines are easy to operate but harder to migrate as compared to YAML pipelines, which are code-based and easier to port.
If you want to avoid the hassle of manually re-creating or converting classic pipelines, it is recommended to convert them to YAML wherever possible.
Other key components to consider include:
- Variable Groups: Central stores of key-value pairs used across pipelines.
- Agent Pools: Execution environments required for builds and deployments.
- Artifacts: Outputs from builds that feed into releases or multi-stage workflows.
-
Dependencies: Repos, templates, service connections, and task groups tied to each pipeline.
Understanding these components helps you map your Azure DevOps pipeline structure accurately, an essential step for a smooth migration.
Common Migration Challenges
Teams often underestimate how many hidden dependencies Azure DevOps pipelines rely on. From linked repos to custom tasks and integrations, missing any piece can break builds, releases, or entire CI/CD workflows during migration.
Here are some common Azure DevOps migration issues:
- The linked repos that pipelines rely on may not exist or map differently in the new environment.
- Custom tasks or marketplace extensions could frequently break because they must be reinstalled, reconfigured, or replaced.
- Environment variables and variable groups can fail to load if naming, permissions, or scopes change during migration. workflows.
- Pipelines may depend on specific agents, capabilities, or self-hosted pools that do not exist in the new organization.
- Integrations with external systems like ServiceNow, Jenkins, SonarQube, or Nexus often require fresh authentication, new tokens, or updated endpoints.
If not identified and resolved early, these Azure DevOps build migration problems could halt the entire CI/CD workflows.
Preparing for Pipeline Migration
Successful Azure DevOps pipeline migration depends heavily on how well you prepare. Most failures during CI/CD migration stem from details that were overlooked during planning. A thorough pre-migration assessment helps you understand the current state of your pipelines and prevents avoidable issues later.
Below is a checklist that covers these prep points:
Identify All Pipeline Dependencies
Azure DevOps pipelines rarely operate in isolation. They depend on a wide set of interconnected components that must be in sync before the migration process. Teams must review and map all variable groups, service connections, and repository links, ensuring permissions, secrets, endpoints, and branches are correctly documented.
They should also evaluate agent pools, especially self-hosted agents, for OS compatibility, installed tools, and required capabilities. Capturing these dependencies up front prevents broken builds, authentication failures, and missing configurations, making the migration smoother and far more predictable.
Export YAML Pipeline Definitions
YAML pipelines migrate smoothly when all code and templates are accounted for. That’s why it is critical to export all . YML files stored in repos and validate templates and shared YAML includes.
All references must be mapped to repository resources (resources.repositories) and branch-based triggers that may need updating after migration should be monitored.
This step to convert classic to YAML Azure DevOps is critical to a successful migration.
Document Classic Build and Release Pipelines
Classic pipelines require extra effort because they are UI-defined and not file- based. Before migration, it’s important to capture their full configuration, including tasks, environments, approvals, deployment settings, and artifact details.
Generating exports or taking visual references can also help ensure nothing is missed. This documentation serves as a practical blueprint for accurately rebuilding or modernizing these pipelines in the new environment.
Verify Agent Compatibility
Before migrating any build or release workflows, it’s important to review the environments that run them. Different systems may use different machines, operating systems, or toolsets, and even small variations can cause tasks to fail after the move.
Ensuring that the target environment has the right capabilities and software in place helps avoid unexpected errors and keeps workflows functioning as expected.
Catalogue Custom Tasks and Marketplace Extensions
Custom tasks and extensions play a significant role in many pipelines, so it’s important to confirm they are available and compatible in the target environment before migration.
This includes checking tasks that come from private extensions, identifying any built-in tasks that may rely on deprecated features, verifying the versions currently in use, and ensuring that Marketplace extensions are approved for installation in the new organization.
Missing or unsupported tasks can lead to pipeline failures even when the YAML or Classic definitions appear to be correct, making this review an essential part of migration planning.
Map and Validate Environment Variables
Environment variables are a critical part of any pipeline, and they need careful attention during migration. It’s important to review all variable groups and pipeline-level variables, ensure secure values are handled properly, and verify any connections to secret stores like Key Vault.
Naming and formatting should remain consistent to prevent scripts or tasks from breaking. Even small changes such as a renamed variable or missing secret can cause builds or deployments to fail, so it is essential to validate CI/CD Azure DevOps for a smooth transition.
Preserving Build and Release History
Preserving build and release history is one of the biggest concerns during Azure DevOps migration, especially because not all historical data can be moved natively. While build artifacts stored externally, YAML definitions, and pipeline configurations can be preserved, items like build logs, release logs, historical results, deployment timelines, and release views cannot be automatically migrated.
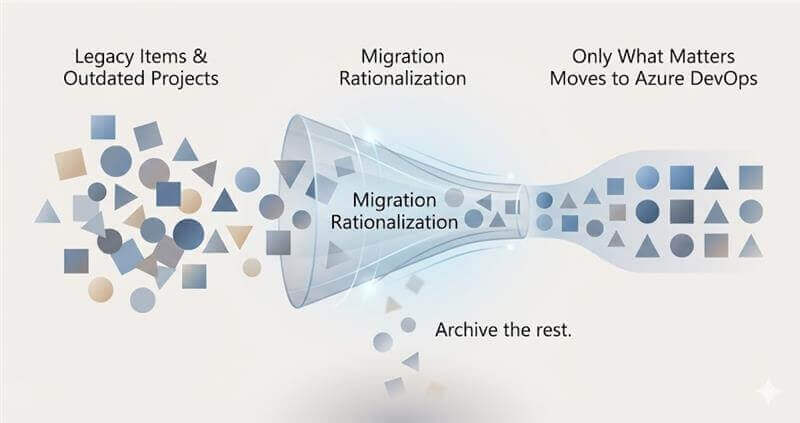
To retain access to this information, teams can export logs and data using REST APIs, archive older builds through parallel retention strategies, store migration snapshots in long-term storage, and back up artifacts or externally stored outputs. These steps ensure essential historical insights remain available even after the migration is complete.
Validating Migrated Pipelines
Validating migrated pipelines is essential to ensure everything functions as expected. After the move, teams should confirm that triggers run correctly, agents and variables load properly, integrations remain connected, and artifacts publish and deploy as intended. Checking approvals and deployment behaviors helps ensure the entire CI/CD workflow continues to run smoothly post-migration.
Conclusion
A successful CI/CD migration requires more than moving pipeline files; it demands careful planning and thorough validation. Teams should map dependencies early, convert Classic pipelines to YAML, preserve history through exports or snapshots, and test all workflows before going live.
Using automation tools and partnering with migration specialists like OpsHub can further streamline the process and reduce risks. Treating pipelines as code also helps simplify future migrations and ensures long-term maintainability.